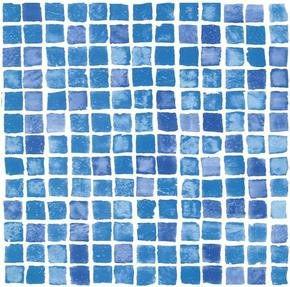
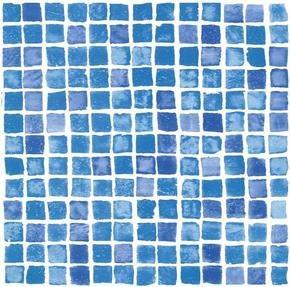
- Doughboy Patterned Liner
- Replacement Liner For Doughboy Pools
- 1ft Liners upto 32x16 replacement Liners
- 20 Thou Thickness
- Replacement Genuine Overlap Liner from Doughboy
PRODUCT INFO:
Replacement Doughboy Liners for both the Regent and Premier. High quality liners with unbeatable warranty on the seam. In stock for quick delivery
These Doughboy Replacement Liners are all patterned overlap liners which are stretched into place, this can be a difficult task to do so please follow the instructions below.
- Check and Double Check: It’s is vital to check that all levels and measurements are correct before positioning your Doughboy Liner. The cove is a vital structural element that prevents water pressure from forcing the liner out under the bottom rail. So please be sure that cove is installed correctly by manufactures guidelines.
- Seam Positioning: Check the pool floor (area inside the walls) for levelness. Fill in all depressions and remove any stones or sharp object from floor. Place the Doughboy liner on the top of top rail, the liner should have overhanging the outside wall by 12” inches. Hold end and unroll liner down middle of pool as you would carpet, do not place liner seam over skimmer or return fitting openings.
- Install Liner: Work in both directions from the point where is already overhanging, unfold Doughboy liner, drape over the top rail and down the sides approximately 24” inches. The liner should be barely above the pool floor in the centre only. Remember that the centre seam or centre of the Doughboy Patterned liner should be inside the pool about 12” inches below the top rail. Correct any bunching or pleating conditions in the liner wall. Inspect the liner for open seams if any found return to dealer for prompt replacement of liner.
- Fill Pool: With the Doughboy Patterned liner in position, hold in place by attaching heavy duty clips over folded cardboard on the underside of each top rail. Carefully cover the end of the garden hose with a sock and tape securely, once this is done place hose inside the pool and start filling. As pool fills the liner will stretch as the water begins to cover the bottom. At this point check the walls for EXTREME tautness, release clips if need be but be sure not to release too much slack as this will cause creases. When releasing the clips you will also need to keep in mind the clips will need to be loosened evenly for whole circumference of the pool (Doughboy advise very little amounts at a time). Once the water reaches past the cove the tension should ease off dramatically and you should have no wrinkles on the floor. Creases in the wall can be removed by re-tauting the Doughboy Patterned liner over the wall,
- Procedure to attached liner: With the help of two or three people, raise and hold the Doughboy Patterned liner up from any three top rail sections. Remove some of the top rail completely and stretch the Doughboy liner over metal wall as tight as possible, then re-erect the top rail with the liner in position and repeat the procedure all the way round the pool (Remembering only taking 2-3 sections off at one time) Once this is completed and the water is at correct level then the water can be turned off and cuts to the liner can be made.


